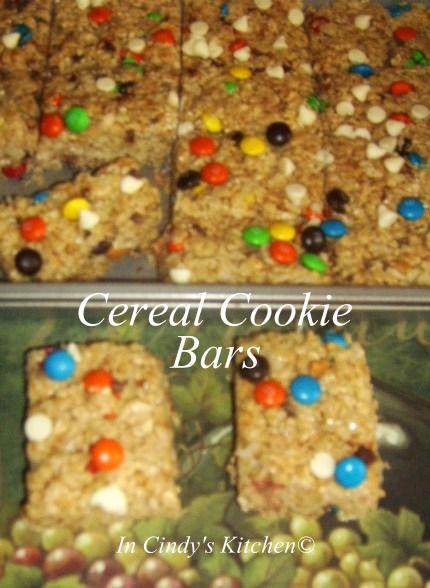
Cereal Cookie Bars: Rice Crispy Treat Upgraded

I was looking for something in my cookbook collection, that I can make to satisfy my sweet tooth in a hurry. These bars 'jumped up' at me from the pages of my cookbook. They're quick, don't require much cooking time, and loaded with goodies of the sweetest kind; so bars, it is. Let's get it started...

9 cups crisp rice cereal
6-1/2 cups quick-cooking oats
1 cup cornflakes (I used crushed graham crackers)
1 cup flaked coconut
2 packages (one 16 ounces, one 10-1/2 ounces) miniature marshmallows
1 cup butter, cubed
1/2 cup honey
1/2 cup chocolate chips (I used butterscotch chips)
1/2 cup raisins (I used white chocolate chips)
1/2 cup M&M's minis (I used regular)
In a large bowl, combine the cereal, oats, cornflakes and coconut; set aside.


Source: Taste of Home 2008 Quick Cooking Annual Recipes or here.

I divided the recipe in half and used a 13-in.x9-in. pan for thicker bars, otherwise the bars will be very thin. The other changes I made are in Bold, Italic, and Purple.
The Taste: I love the combinations of flavors. Great REPEAT. It's like a rice crispy treat upgraded to the next level. I think next time I will do a fruits and nuts combination.
Linked to:
Strut Your Stuff Saturday @ Six Sister's Stuff
Show and Tell Saturday: Be Different...Act Normal
Sweet Saturday Link Party: The Gingerbread Blog
Finding the Delicious & Pretty Linky Party
Scrumptious Sunday Recipe Link Party @ Addicted Recipes
Marvelous Mondays @ This Gal Cooks
Melt In Your Mouth Monday @ Make Ahead Meals for Busy Moms
Flour Me With Love: Mix it up Monday!
The Chicken Chick: Clever Chicks Blog Hop
Watch Out Martha
Tried and True Recipe Party 3
The Country Cook:: Weekend Potluck


.JPG)