Search This Blog

Friday, August 10, 2012

Cream Cheese-Biscoff Swirled Brownies

Cream Cheese-Biscoff Swirled Brownies

 
Hi everybody :)

Today's recipe starts off with a brownie mix....ssshhhhh, I won't tell anybody if you don't ;) Mixes come in handy when you're pressed for time. So this is perfect for when you need a dessert in a snap :)

Recently, I stocked up on Biscoff, because at first they didn't sell it in my area :(  When my daughter came home law school, she would bring me some. Last week, while shopping at Winn Dixie, I SPOTTED BISCOFF!! :) YEAH! (If you can't find it in your area it's sold here and here.) The price here is a little bit higher than where my daughter attends school, but that's okay. The caramel cinnamon taste had me at one spoonful :) So, this put me in my creating mode, and I  decided to add it to a brownie mix along with cream cheese.

For the Brownie:
2 bags (19 - 21 oz.) Brownies Mix (I got my mix from Sam's Club and doubled the recipe for a 13x9" pan.)
Ingredients to make mix (eggs, water, and oil)

For the Cream Cheese Layer: adapted from Kraft
1 8oz. pkg. cream cheese, softened
1/3 cup sugar
1 egg
1/2 teaspoon vanilla

To Make the Cream Cheese Layer:
Beat cream cheese with mixer until creamy add sugar, egg, and vanilla; mix well.

For the Biscoff Layer: adapted from Martha Steward
4 tablespoons butter, melted
1/2 cup powdered sugar
3/4 cup smooth Biscoff spread
1/4 teaspoon salt
1/2 teaspoon vanilla
SEE NOTE

 To Make the Biscoff Layer:

Stir together butter, powdered sugar, Biscoff, salt, and vanilla in a bowl until smooth.

Prepare brownie batter as directed on the package, spread half into a greased 13x 9'" pan.  Drop dollops of cheese filling and Biscoff filling by tablespoonfuls of  over brownie batter and spread remaining brownie batter over the top. Repeat.

Working quickly so that batter, cream cheese, and fillings don't set, drag a butter knife back and forth through the layers with the tip touching the bottom of the pan.


NOTE: I think the next time I make these, I will add a little cream or milk to the Biscoff Filling because it wasn't so creamy when I added it to the batter.


What I Think:
NOTE: Make sure to swirl more if you want the marbling to show up better. I didn't :(

BTW,  for those of you who don't know what Biscoff spread is: go here for detailed information.


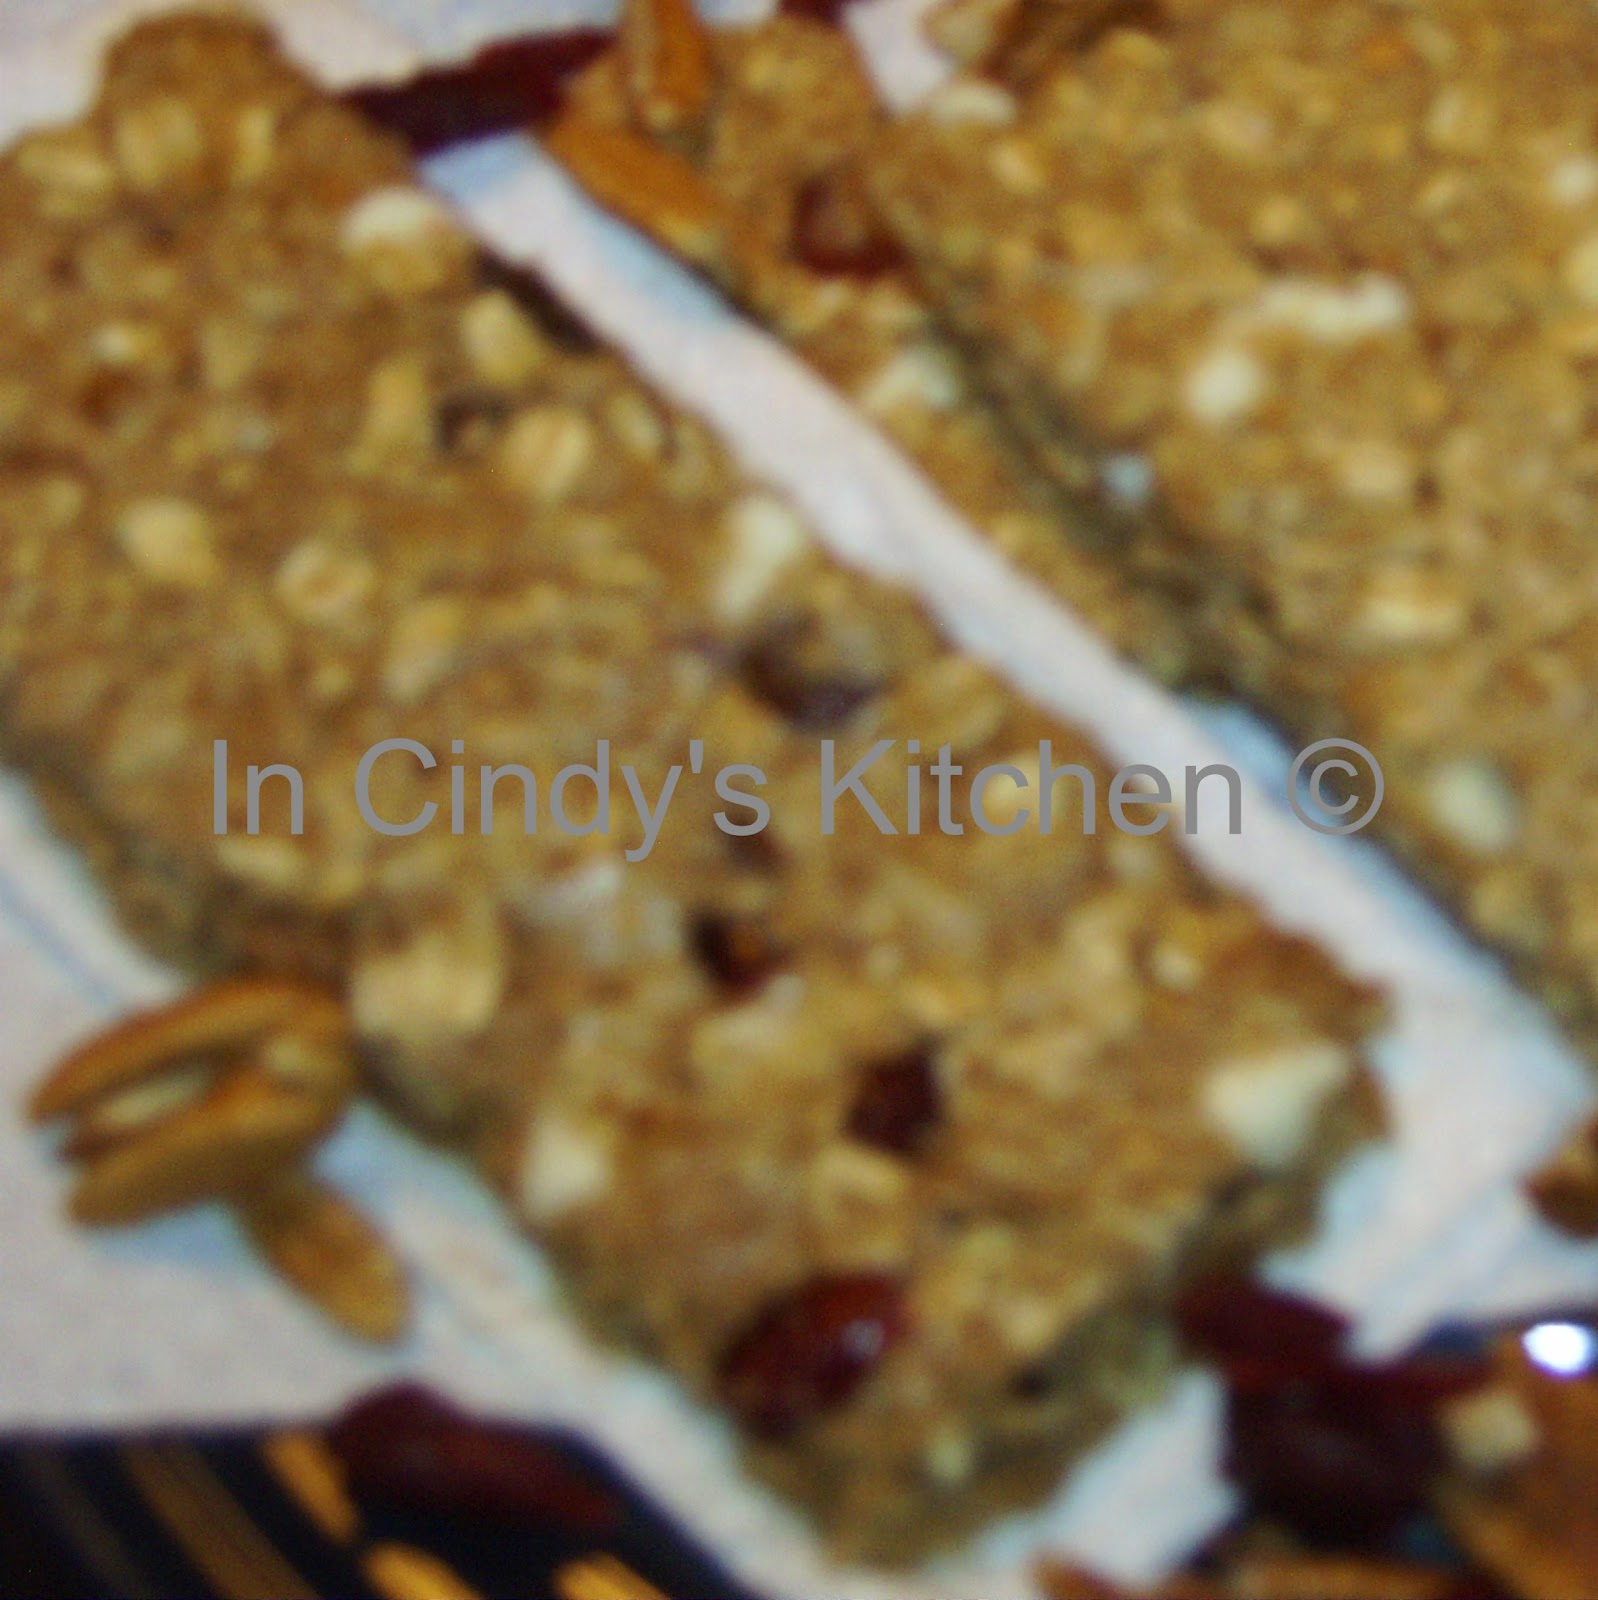
Despite the fact that I did get the creamy look of the Biscoff Filling or the marbling effect I hoped for, these brownies were DELICIOUS!!! So this will be a repeat.

ENJOY! Come again.....

Linked to:
Sweet Tooth Friday @ Alli-n-Son
The Better Baker Weekend Potluck

Gardening - Potatoes In A Barrel

Gardening - Potatoes In A Barrel


Potatoes In A Barrel

Hi everybody :)

Do you love gardening? I do. The only thing I don't love about gardening is weeding. While pinning on Pinterest, I  stumbled upon a solution ...Drum-roll: container gardening! For example, did you know you can grow potatoes in a barrel? I sure didn't. When I saw this Easy Gardening System I knew I had to give it a try. 


 UPDATE NEW PICTURES:
Luckily I had an barrel, so all I have to do was clean it,  and get the PVC pipe.  To start, drill circles in your barrel about the mouth of a small drinking cup, making sure to space them out.(Unlike  hubby did in this picture, we learned the hard way)


Next, you will need a PVC pipe about a few inches taller than your barrel, make sure to get one with a circumference wide enough for a water hose.


Drill holes in your PVC pipe so water can reach your plants. Place pipe in the center of barrel. Add soil to hold the pipe in place. Do not put any soil inside the pipe.  Start adding potatoes seedlings thorough the holes as you continue to add the soil.

You now have your very own easy garden system ! No more weeding, YEAH!!!

about 3 weeks old


I decided to plant White Superior and  Russet Potatoes. I bought my potato seedlings and soil. And went to work. I was so excited to see how this would turn out. The picture above is how it looked after about a few weeks.

2 months old


As the weeks and months went by ...my potatoes grew.... and  GREW! Soon it was so big and bushy. I had to get something to help me prop them up. I was afraid some of the plant would get so big that the weight from it hanging from the barrel would cause them to break.  Some of them did : (  This is how it look after about 2 months.

potatoes in about 4 months


Freezing Potatoes

freezing potatoes
 Freezing potatoes is very simple. To keep the potatoes at it best, you would want to blanch them as soon as possible.  According to Wikipedia: Blanching is a cooking process wherein the food substance, usually a vegetable or fruit, is plunged into boiling water, removed after a brief, timed interval, and finally plunged into iced water or placed under cold running water (shocked) to halt the cooking process. After blanching, you would want to put them in freezer bags or containers. I think the bags are better because you can squeeze out the air before closing them or you can vacuum-sealed them. 

freezing potatoes
For more info about freezing potatoes go here.

ENJOY! Come again....

Thursday, August 9, 2012

Chewy Quaker Oatmeal Bars Copy-cat

Chewy Quaker Oatmeal Bars Copy-Cat 


Hi everybody :)

I wanted to post this yesterday, but the weather has been really bad here :(

I always loved Quaker Oatmeal Bars. I've been wanting to make this bar since the day I pinned it from Katie. Katie has a very popular blog . Her recipes are always healthy and nutritious. So if  you're looking for the prefect copy-cat, THIS IS IT!!

I double the recipe below (except the add ins) and put it all in a 10 by 15 inch pan, because I wanted bigger bars. I also followed the no-bake option. This was unbelievably delicious. I'm definitely making this again :)


Quaker-Style Chewy Bars (with bake or no bake opt.) adapted from Chocolate Covered Katie

2 cup rolled oats
1/2 tsp baking soda
1/2 cup rice crispies
1/2 cup plus 2 tbsp oat flour (recipe instructions below for an easy substitution)
1/2 tsp salt
1 tsp pure vanilla extract
4 tbsp coconut oil or veg oil
1/2 cup agave or honey
2-4 tablespoons brown sugar
4 tbsp applesauce (banana would probably work as well, or pumpkin!)
 Add Ins:
1/4 cup mini chocolate chips
1/4 cup chopped craisins
1/4 cup white chocolate chips
1/4 cup chopped or sliced almond
1/4 cup chopped pecans

To make oat flour:  Simply grind rolled oats in a food processor to make oat flour. Be sure to measure the correct amount of flour for the recipe after grinding, not before.

For Bake:  preheat oven to 350 F. Combine all dry ingredients and mix very well. In a separate bowl, combine wet ingredients. Stir wet into dry and use another sheet of parchment (or wax) paper to squish evenly-coated mixture into a parchment-lined  9×13 pan. Squish very, very hard, with a can or something heavy.  Cook 18 minutes, then squish very hard again. Cool in the fridge for at least ten minutes before cutting into bars.

For No-Bake: Combine all dry ingredients and mix very well.In a separate bowl, combine wet ingredients. Stir wet into dry and use another sheet of parchment (or wax) paper to squish evenly-coated mixture into a parchment-lined  9×13 pan. Squish very, very hard, with a can or something heavy. Refrigerate until firm.
Bars are firmer if you use coconut oil. 


These bars can be stored at room temp, but if you use coconut oil; they’re best kept in the fridge. Or they can even be frozen. The bars thaw very well!


ENJOY! Come again....

Monday, August 6, 2012

Red Velvet Poke Cake

Red Velvet Poke Cake - Daughter's Craving.

Red Velvet Poke Cake


Hi everybody : )

Remember the Carrot Poke Cake with Cheesecake Filling I did a while back? Well..my daughter doesn't share my love for carrot cakes. She's a red velvet cake lover, (like hubby). Hey all you carrot cake fans. we got traitors in our mist! : ) I love red velvet too, but if I had to choose....carrot cake takes the prize.

This cake is the basically the same as I did for the carrot poke cake, just subbing out the carrot cake mix for the red velvet cake mix. So here it goes.
 
Ingredients:
Cake:

1 box red velvet cake
ingredients needed to make cake (eggs, oil, & water)
Filling:
2 (3.4 oz.) boxes instant Cheesecake-flavored pudding
4 cups milk
Topping:
1 (8 oz.) tub Cool Whip, thawed
4 oz cream cheese ( 1/2 of 8-oz pkg.) (softened) 
2 tablespoons powdered sugar  (or a little more if desired)
1/2 cup chopped nuts or coconut if desired
  
Preheat oven to 350ºF. Prepare cake batter as directed on package. Pour into 13x9-inch baking pan.

Bake 35 to 40 min. or until wooden toothpick inserted in center comes out clean. Remove from oven.    Let cool for a few minutes. Then, with a wooden spoon handle, large fork or skewer poke holes in the warm cake at 1/2-inch intervals. Be sure to poke right down to the bottom of the cake. You want holes big enough so that the pudding has plenty of room to get to the bottom.
Cake with holes

In a medium bowl, prepare instant pudding with milk, whisking until all the lumps are gone. Pour pudding over cake. Making sure to get right into the holes as much pudding as possible. Cover and put in the refrigerator to set for about 2 hours.

BEAT cool whip, cream cheese, and powdered sugar in large bowl with electric mixer until well blended. Spread onto cake. Sprinkle with nuts or coconut if desired. Eat! Store leftovers in refrigerator.

Oh by the way, my daughter made this one; she's a very picky eater and thinks that since carrots are vegetables, they don't belong in cakes. She doesn't know what she's saying, I think law school is affecting her taste buds : )

Cake with Cheesecake Filling
I didn't get a chance to take a picture of the finished cake. They woofed it down too fast. The piece above is the ONLY slice I ate : (  The cake was good obviously.

Before you go....
 Make A Difference:  Justice for Brandon C. Jackson
I like to call your attention to the new widget I have on the top left side of my blog. It's about the injustice treatment of Brandon C. Jackson. I don't know him, but his story have touched my heart.  I like to implore you to take a little time, if you will, to read his story, sign his petition and pass it along.

ENJOY! Come again.....

Fish Fry Coating Mix with Tilapia & A Bonus Recipe

Fish Fry Coating Mix with Tilapia & A Bonus Recipe

Hi  everybody :)

I love the idea of making your own anything, so I was happy to find this recipe while browsing through one of my cookbooks,  Gifts That Taste Good . If you been reading my posts, yeah I'm still sticking to doing at least 1 recipe out of each book, I'm gonna do them one better, this is the second one from the same book! YEAAAA!!!! The first was Jamman' Muffins mmmmm MUST make again soon!  Alas, back to what I was saying, as the old adage goes, "homemade is best made". So with that in mind I gave this recipe a try. I was very pleased with the result, a flavorful crispy crust.


Fish Fry Coating Mix from Gifts That Taste Good


1 1/2 cups yellow cornmeal
1/4 cup all-purpose flour
1 tablespoon lemon pepper
2 teaspoons salt
1 teaspoon onion powder (I used Mrs. Dash Onion & Herb Seasoning)
1/2 teaspoon paprika

In a large bowl, combine all ingredients. Store in an airtight container.

Yield: about 1 3/4 cups of mix

frying the fish
To prepare fried fish: Dip fish in buttermilk and roll in coating mix. To cook, pour oil into a Dutch oven to a depth of 2 to 3 inches. Heat to 375 degrees. Fry coated fish, one piece at a time, about 4 to 6 minutes or until golden brown.

From Gifts That Taste Good, page 45


I didn't forget I promise y'all a bonus recipe, so here it is.....roasted potatoes. I know most people like fries with their fish; I like roasted potatoes. I know it might sound kinda of strange, but it's great. This is a very simple basic recipe with less roasting time in the oven.

Roasted Potatoes


2lbs. golden potatoes
2 Tbsp. olive oil
1 - 2 tsp. Mrs. Dash Onion and Herb Seasoning 
1 tsp. Garlic Salt
To serve:
butter
chives
sour cream

Cut potatoes in chunks and microwave (see note). Drain water. Place in large pan and drizzle with oil. Sprinkle with seasonings and bake 20 -25 minutes until tender in a 375 degree oven.

Note: Microwave potatoes in microwave about 10 minutes means less time in the oven. I roasted my potatoes for about 20-25 minutes or until tender in a 375 degree oven; after microwaving.

water & potatoes for the microwave


ENJOY! Come again....

Sunday, August 5, 2012

Macadamia Nut Cookies

Macadamia Nut Cookies: Freezing Cookie Dough

 Hi everybody : ) 

My daughter is going back to law school soon : (  I'm making these cookies because macadamia cookies are her favorite. I so happy I found this recipe because it allows you to freezes cookie dough for later usages. With this, she can have her favorite cookie whenever and think of mom : )

I won this book Make-Ahead Meals For Busy Moms by Jane Doiron, her blog is wonderful, from Lark's Country Heart  another great blog.


Macadamia Nut Cookies from Make-Ahead Meals For Busy Moms

2 1/2 cups flour
1 teaspoon baking soda
1/2 teaspoon salt
1 cup butter, softened
3/4 cup sugar
3/4 cup light brown sugar, packed
1 large egg
1 teaspoon vanilla extract
1 1/4 cups macadamia nuts, chopped
1 cup vanilla chips

In a medium bowl, combine the flour, baking soda, and salt: set aside. In a large mixing bowl, cream the butter and sugars. Add the egg and vanilla and beat on medium speed until thoroughly combined. Add the flour mixture on low speed. Stir in the nuts and vanilla chips. Prepare a large sheet pan with parchment paper. For each cookie, shape 1/4 cup of dough into a ball. Place the cookie dough 2 inches apart on the sheet pan and flatten the dough slightly with your fingers. Bake at 350°F for 13 minutes. Cool on a wire rack. Makes 20 large cookies
cookie dough
-Freezer Directions for Uncooked Dough-
Place the cookie dough balls on a large sheet pan in a single layer. Cover with plastic wrap. Freeze for 2-3 hours. Place the frozen cookie dough in labeled freezer bags and freeze up to 2 months. Be sure to write the cooking directions on the bag.
freezing the cookie dough
Thawing Out the Dough on Baking Day-
Cover a large sheet pan with parchment paper and place the frozen cookie dough on it about 2 inches apart. Thaw the cookie dough at room temperature for 45 - 60 minutes. Preheat the oven to 350°F and bake for 13 minutes.
measured frozen cookie dough
I used my medium OXO Good Grips Cookie Scoop. I packaged 2 bags of dough! A dozen in each bag.


I cooked 5 cookies with the dough I had left over from the 2 dozen. The cookies was great, moist and chewy. Make sure you leave plenty of room for the cookies to spread, these babies are BIG!

ENJOY! Come again....

Linking to:
Melt in Your Mouth Monday Recipe Blog Hop #77  
Katherine Martinelli: Nut Blog Hop  
Sweet Tooth Friday @ Alli-n-Son

Followers